From Scratch: using Next.js (React), Bulma & Zeit Now
从头开始:立即使用Next.js(React),布尔玛和Zeit
(written in April, posted in august, some stuff might be out of date)
(写于四月,八月发布,有些东西可能已经过时了)
I’m new to front-end. Part of the fun is figuring out small projects to discover new tricks. The later fun comes from showing what I found out in case anyone else wanted to try the same things. This guide uses Next.js (it’s basically react) to build the frontend & backend, we’ll style the app with Bulma, and host it with Zeit Now (hiding our API key so no one hacks us).
我是前端新手。 有趣的部分是找出小型项目以发现新的技巧。 以后的乐趣来自展示我发现的结果,以防其他人想尝试相同的东西。 本指南使用Next.js(基本上是在React)来构建前端和后端,我们将使用Bulma样式化应用程序,并使用Zeit Now托管应用程序(隐藏我们的API密钥,这样就不会有人攻击我们)。
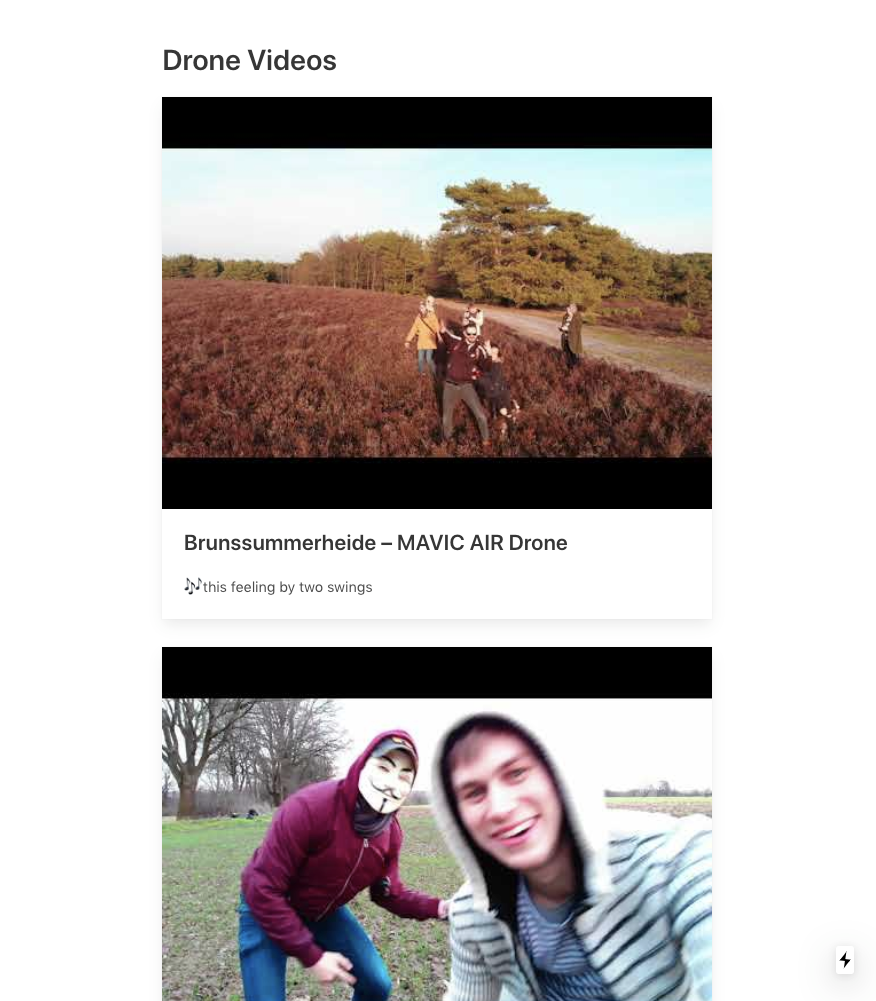
For this project, I’m turning my youtube playlist of drone videos to render a gallery on my website dean.red.
对于这个项目,我将我的YouTube无人机视频播放列表转为在dean.red网站上渲染一个图库。
先决条件 (Pre-requisites)
入门 (Getting Started)
Let’s get the installation & configuration out of the way first. Let’s start by creating the next.js skeleton.
让我们首先进行安装和配置。 让我们从创建next.js框架开始。
npx create-next-appNow let’s install the node_modules we’ll be using:
现在,让我们安装将要使用的node_modules:
npm i node-sass bulma dotenv axios安装样式(布尔玛) (Installing Styling (Bulma))
Let’s setup the styling with node-sass & bulma. Open your package.json configuration file and copy/paste the scripts for css:build & css:watch:
让我们使用node-sass和bulma设置样式。 打开您的package.json配置文件,然后复制/粘贴css:build和css:watch的脚本:
// package.json"scripts": {"dev": "next dev",
"build": "next build",
"start": "next start","css:build": "node-sass --omit-source-map-url assets/sass/styles.scss static/css/styles.css",
"css:watch": "npm run css:build -- --watch"}
This script will turn a .SCSS file into a static CSS file. To do this, we need to create the .SCSS file.
该脚本会将.SCSS文件转换为静态CSS文件。 为此,我们需要创建.SCSS文件。
In the folder root, create a new folder called assets, then create a sub-folder called sass, then inside this folder create a file called styles.scss
在文件夹根目录中,创建一个名为asset的新文件夹,然后创建一个名为sass的子文件夹,然后在此文件夹中创建一个名为styles.scss的文件。
Now we can load bulma into styles.scss with the following code:
现在,我们可以使用以下代码将bulma加载到styles.scss中:
// assets/styles/styles.scss@charset "utf-8";
@import '../../node_modules/bulma/bulma.sass';
Next, we’ll build the static .CSS file with styles.scss. In the terminal:
接下来,我们将使用styles.scss构建静态.CSS文件。 在终端中:
npm run css:build
This creates a folder called static with the styles.css nested inside.
这将创建一个名为static的文件夹,其中嵌套了styles.css。
Now we can use this styling inside our app. To do so, let’s create a Head component that we can use inside all our pages consistently. Create the file TheHead.js inside the components folder:
现在,我们可以在应用程序内部使用此样式。 为此,我们创建一个Head组件,可以在所有页面中一致地使用它。 在components文件夹内创建文件TheHead.js :
// components/TheHead.jsimport Head from 'next/head'export default () => (
    <Head>
        <meta name="viewport" content="width=device-width, initial-scale=1" />
        <meta charSet="utf-8" />
        <title>youtube playlist</title><link rel="stylesheet" type="text/css" href="/static/css/styles.css" />
    </Head>
)
Let’s now update pages/index.js by replacing everything with the following code. Notice the import and use of <TheHead /> component.
现在,通过将所有内容替换为以下代码来更新pages / index.js 。 注意<TheHead />组件的导入和使用。
// pages/index.jsimport React, { Component } from 'react'import TheHead from '../components/TheHead'export default class index extends Component {

  render() {

    return (
      <div><TheHead />
        <section className="section">
          <div className="columns">
            <div className="column is-8 is-offset-2">
              <h1 className="title">
                Bulma is installed!
              </h1>
              <a className="button is-primary">Button Test</a>
            </div>
          </div>
        </section>
      </div>
    )
  }
}
Now let’s see how this looks.
现在,让我们看看它的外观。
npm run css:build
npm run dev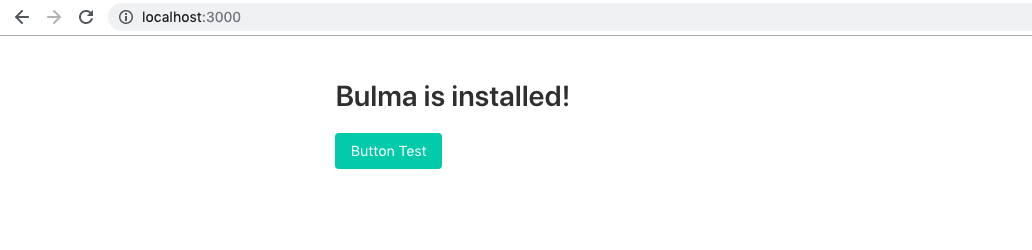
创建后端 (Creating the Backend)
To use the Youtube API v3, you need to have an API Key. If we used this within the frontend/client, anyone could see the key and hack into our google account. Luckily, Next.js & Zeit Now makes it easy to deploy a backend that can fetch the playlist information without exposing our API Key.
要使用Youtube API v3,您需要具有API密钥。 如果我们在前端/客户端中使用此功能,则任何人都可以看到密钥并入侵我们的Google帐户。 幸运的是,Next.js和Zeit Now使得部署后端很容易,该后端无需公开我们的API密钥即可获取播放列表信息。
设置环境变量 (Setting up the Environment Variables)
Let’s start by configuring our .env files, which allows us to work locally and on production without exposing our keys.
让我们从配置.env文件开始,该文件使我们能够在本地和生产环境中工作而无需公开密钥。
Create a new file in root called next.config.js.
在根目录中创建一个名为next.config.js的新文件。
// next.config.jsrequire('dotenv').config()module.exports = {

    env: {

        // Reference a variable that was defined in the .env file and make it available at Build Time
        APIKEY: process.env.APIKEY,
        PLAYLIST: process.env.PLAYLIST,
    },
}
Then create a new file in root called .env
然后在名为.env的根目录中创建一个新文件
APIKEY=keyABC
PLAYLIST=appABC
Then create two new files in root called .nowignore & .gitignore
然后在根目录中创建两个新文件,名为.nowignore和.gitignore
// .nowignore
.env
node_modules// .gitignore
.env
node_modules
设置API (Setting up the API)
Next.js makes it easy to setup APIs out of the box (we don’t need express).
Next.js使开箱即用地设置API变得容易(我们不需要express)。

Create a new file pages/api/server.js (create a new folder called api inside of pages).
创建一个新文件pages / api / server.js (在页面内部创建一个名为api的新文件夹)。
// pages/api/server.jsimport fetch from 'axios'
import getConfig from 'next/config'const key = process.env.APIKEY
const playlist = process.env.PLAYLIST
const maxResults = 3
const apiURL = `https://www.googleapis.com/youtube/v3/playlistItems?part=snippet&type=video&order=date&maxResults=${maxResults}&playlistId=${playlist}&key=${key}`module.exports = async (req, res) => {

    try {

      // const result = await fetch(apiURL)
      // res.status(200).json(result.data)
      res.status(200).json(apiURL)    } catch (err) {

      res.status(500).json('Whoops, something went wrong')
    }
}
Save the file, then restart your server (ctrl-c & npm run dev). Then visit localhost:3000/api/server. You should get the following response.
保存文件,然后重新启动服务器(ctrl-c和npm run dev)。 然后访问localhost:3000 / api / server 。 您应该得到以下答复。
https://www.googleapis.com/youtube/v3/playlistItems?part=snippet&type=video&order=date&maxResults=3&playlistId=appABC&key=keyABCIf you see appABC & keyABC, then your environment variables are working!
如果看到appABC和keyABC ,那么您的环境变量正在运行!
设置API密钥和播放列表 (Setup the API Key & Playlist)
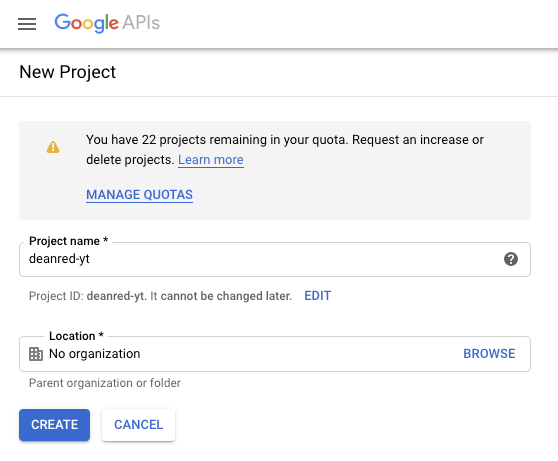
Head over and sign-in to: https://console.developers.google.com/ and create a new project
前往并登录: https : //console.developers.google.com/并创建一个新项目

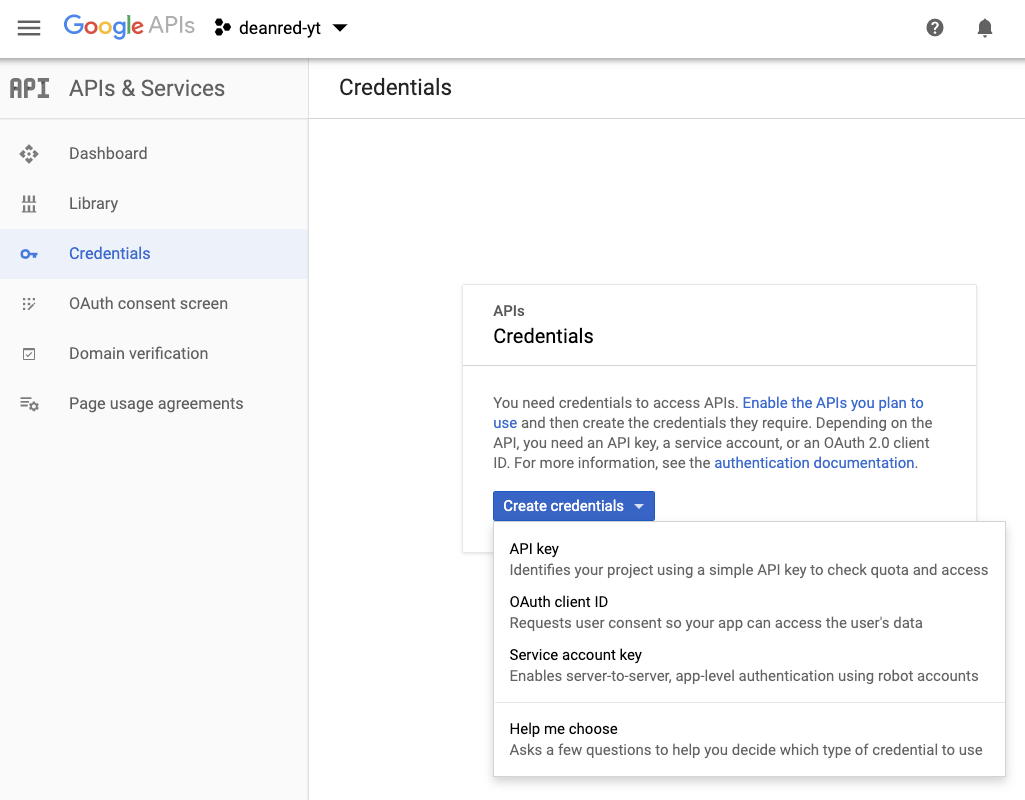
Select & create credentials (API key)
选择并创建凭据(API密钥)
Take the newly generated API key and paste it into your .env file. This will then be available throughout our app.
使用新生成的API密钥并将其粘贴到您的.env文件中。 然后,它将在整个应用程序中可用。
// .envAPIKEY=PasteYourKeyHere
PLAYLIST=appABC
On your Google Console, navigate to your dashboard and enable API & Services.
在您的Google控制台上,导航到您的仪表板并启用API和服务。
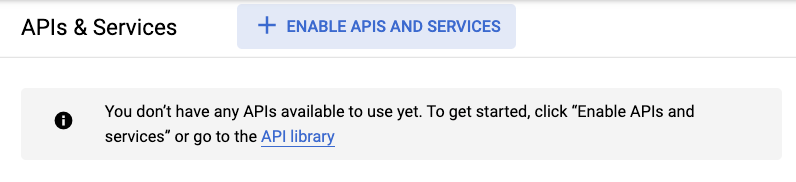
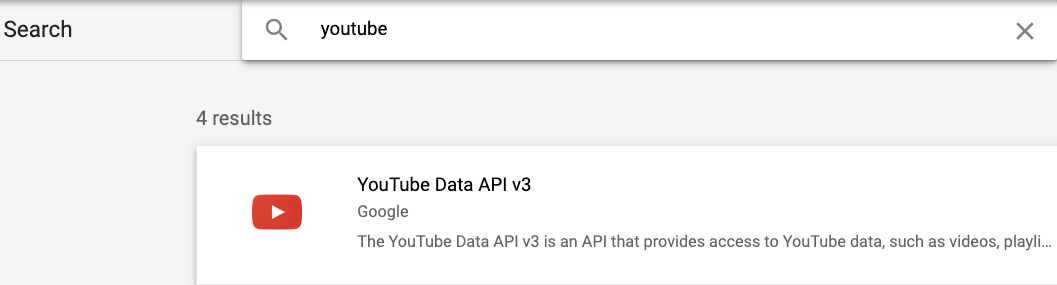
Search for “Youtube” and then select & enable Youtube Data API v3
搜索“ Youtube”,然后选择并启用Youtube Data API v3
Now let’s grab the playlist ID. Navigate to your youtube playlists. Copy the URL and then paste the ID into your .env file:
现在,让我们获取播放列表ID。 导航到您的youtube播放列表。 复制URL,然后将ID粘贴到您的.env文件中:
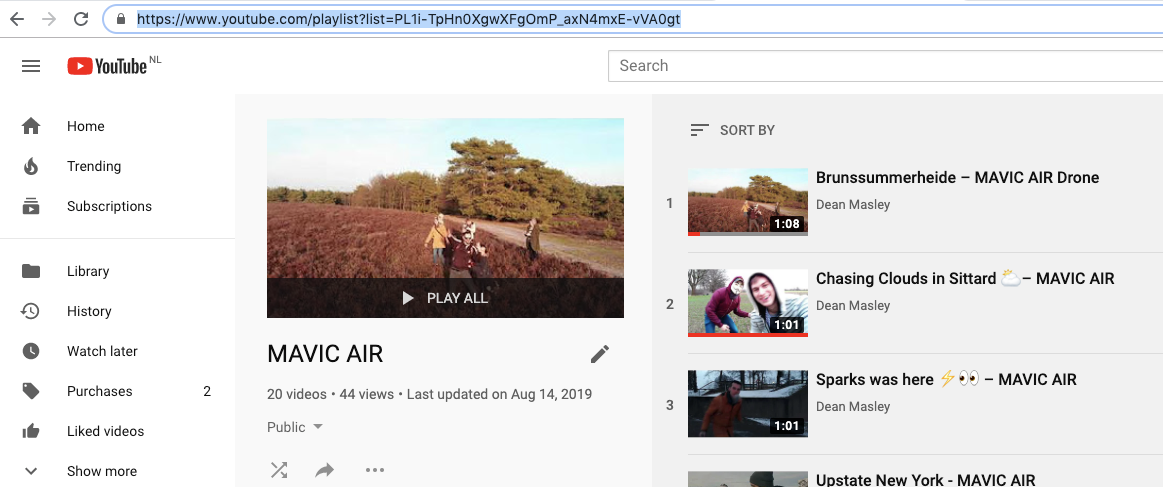
// url of the youtube playlisthttps://www.youtube.com/playlist?list=PL1i-TpHn0XgwXFgOmP_axN4mxE-vVA0gt// .envAPIKEY=PasteYourKeyHere
PLAYLIST=PL1i-TpHn0XgwXFgOmP_axN4mxE-vVA0gt
Open up your /api/server.js file and uncomment the code we hid earlier. We can comment out res.status(200).json(apiURL) so that we can use it for debugging later if needed.
打开/api/server.js文件,然后取消注释我们之前隐藏的代码。 我们可以注释掉res.status(200).json(apiURL),以便以后在需要时将其用于调试。
// pages/api/server.jsimport fetch from 'axios'
import getConfig from 'next/config'const key = process.env.APIKEY
const playlist = process.env.PLAYLIST
const maxResults = 3
const apiURL = `https://www.googleapis.com/youtube/v3/playlistItems?part=snippet&type=video&order=date&maxResults=${maxResults}&playlistId=${playlist}&key=${key}`module.exports = async (req, res) => {

    try {

      const result = await fetch(apiURL)
      res.status(200).json(result.data)
      // res.status(200).json(apiURL)} catch (err) {

      res.status(500).json('Whoops, something went wrong')
    }
}
Save everything & restart your server (Ctrl-C and then npm run dev). Once compiled, visit localhost:3000/api/server and you should get a json like the following:
保存所有内容并重新启动服务器(Ctrl-C,然后npm run dev)。 编译后,访问localhost:3000 / api / server,您应该得到一个类似于以下内容的json:
{"kind":"youtube#playlistItemListResponse","etag":"\"p4VTdlkQv3HQeTEaXgvLePAydmU/ONj3fEgwTdkCNzYy4qEjt_a2i_A\"","nextPageToken":"CAMQAA","pageInfo":{"totalResults":20,"resultsPerPage":3},"items":[{"kind":"youtube#playlistItem","etag":"\"p4VTdlkQv3HQeTEaXgvLePAydmU/BaaKN-5F21x53nw6GEnHSwaNtDw\"","id":"UEwxaS1UcEhuMFhnd1hGZ09tUF9heE40bXhFLXZWQTBndC5ENDU4Q0M4RDExNzM1Mjcy","snippet":{"publishedAt":"2019-02-17T00:57:40.000Z","channelId":"UCNLJ9gzT_wVT8wbX8OVuaCA","title":"Brunssummerheide – MAVIC AIR Drone","description":"this feeling by..( ... snipping to save room ... )Congratulations!!! You have successfully created a backend that can securely grab videos from a youtube playlist! Now we can call this data throughout our app via this custom backend.
恭喜!!! 您已经成功创建了一个可以安全地从youtube播放列表中抓取视频的后端! 现在,我们可以通过此自定义后端在整个应用程序中调用此数据。
创建前端 (Creating the FrontEnd)
Now that we have a backend that can fetch a json of videos from a youtube playlist, we can now use that information to dynamically generate a page of videos.
现在我们有了一个可以从youtube播放列表中获取视频json的后端,现在我们可以使用该信息动态生成视频页面。
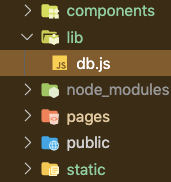
To get started, let’s create a function in the frontend that grabs the data from our backend. Start by creating a new folder in root called lib. Inside this folder, create a file called db.js
首先,让我们在前端创建一个函数以从后端获取数据。 首先在根目录下创建一个名为lib的新文件夹。 在此文件夹中,创建一个名为db.js的文件
// lib/db.jsimport fetch from 'axios'async function getResults () {

  const apiURL = `/api/server`try {

    const result = await fetch(apiURL)
    return result.data.items
  } catch (err) {

    console.log(`Shoot! You hit an error: ${err}`)
  }
}export { getResults }
Now we can use getResults() to grab the playlist data without exposing our api key!
现在我们可以使用getResults()来获取播放列表数据,而无需暴露我们的api键!
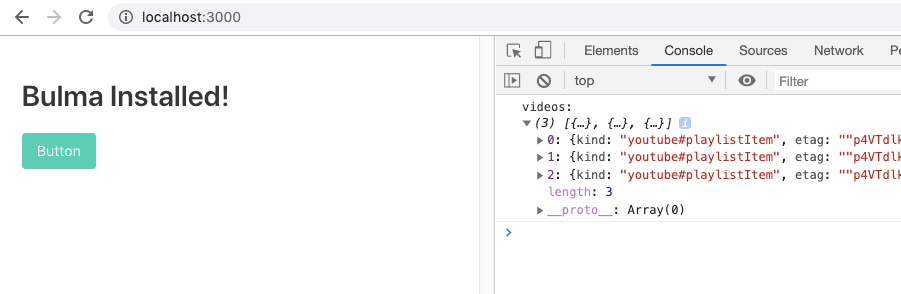
Head back over to index.js and import getResults() and then console.log the results in componentDidMount(){} above render(). This will call getResults() immediately when the page loads.
返回到index.js并导入getResults() ,然后将结果记录在render()上方的componentDidMount(){}中 。 页面加载后,将立即调用getResults()。
import React, { Component } from 'react'
import TheHead from '../components/TheHead'import { getResults } from '../lib/db'export default class index extends Component {
        componentDidMount () {

    getResults().then(data => {

      console.log('videos: ', data)
    })
  }
  render () {

    return (
(... rest of app ... )
Now if we head over to our homepage and open the browser console, we can see the json is available for us to use:
现在,如果我们转到主页并打开浏览器控制台,我们可以看到可以使用json了:
创建可重复的视频组件 (Creating the repeatable Video component)
Now that we have an array of objects, let’s prepare a component that can take this information and create a card with a thumbnail, link to the video, and title of video.
现在我们有了对象数组,让我们准备一个组件,该组件可以获取此信息,并创建带有缩略图,视频链接和视频标题的卡片。
Create a new file Video.js inside the components folder.
在components文件夹内创建一个新文件Video.js 。
// components/Video.jsimport React, { Component, Fragment } from 'react'export default class Video extends Component {

  constructor (props) {

    super(props)
  }render () {

    const vid = this.props.data.snippet
    console.log(vid)    const thumbnailURL = vid.thumbnails.high.url
    const { title, description } = vid
    const vidID = vid.resourceId.videoId
    const vidURL = `https://youtu.be/${vidID}`return (
      <Fragment>
        <div className='card'>
          <div className='card-image'>
            <figure className='image is-4by3'>
              <a href={vidURL}>
                <img src={thumbnailURL} alt='Placeholder image' />
              </a>
            </figure>
          </div>
          <div className='card-content'>
            <div className='media'>
              <div className='media-content'>
                <p className='title is-4'>{title}</p>
              </div>
            </div>
            <div className='content'>{description}</div>
          </div>
        </div>
        <style jsx>{`
          .card {

            margin-bottom: 2rem !important;
          }
        `}</style>
      </Fragment>
    )
  }
}
Now that we have this Video component, we can edit our index.js to loop over this component with the json we have. We’ll add a constructor to index.js so that we can set the state with the data from the json. Then we can map the Video component for as many videos are in the playlist.
现在我们有了这个Video组件,我们可以编辑index.js以使用我们拥有的json在该组件上循环。 我们将在index.js中添加一个构造函数,以便可以使用json中的数据设置状态。 然后,我们可以将视频组件映射到播放列表中的多个视频。
// pages/index.jsimport React, { Component } from 'react'
import TheHead from '../components/TheHead'
import Video from '../components/Video'
import { getResults } from '../lib/db'export default class index extends Component {

  constructor (props) {

    super(props)
    this.state = {

      videos: []
    }
  }componentDidMount () {

    getResults().then(data => {

      this.setState({ videos: data })
    })
  }
  render () {

    return (
      <div>
        <TheHead />
        <section className='section'>
          <div className='columns'>
            <div className='column is-4 is-offset-4'>
              <h1 className='title'>Drone Videos</h1>
              {this.state.videos.map((vid, i) => (
                <Video key={i} data={vid} />
              ))}
            </div>
          </div>
        </section>
      </div>
    )
  }
}
Save your project and restart your server. Your homepage should now load the videos in cards!
保存您的项目并重新启动服务器。 现在,您的主页应将视频加载到卡片中!
部署网站 (Deploy the Website)
Now our app is ready to be deployed for the world to see. Before we do so, we’ll need to add Secrets to our Zeit Now accounts. This will replace the API Key & Playlist ID values held in our .env file.
现在,我们的应用已准备就绪,可以进行部署,以供全世界查看。 在我们这样做之前,我们需要将Secrets添加到我们的Zeit Now帐户中。 这将替换保存在我们的.env文件中的API密钥和播放列表ID值。
Create a new file in root called now.json. This replaces our env variables with secrets we’re about to make on now.
在根目录中创建一个名为now.json的新文件。 这会将我们的env变量替换为我们现在要制作的秘密。
// now.json{

    "build": {

        "env": {

            "APIKEY": "@ytplaylist-key",
            "PLAYLIST": "@ytplaylist-playlist"
        }
    }
}
Next, open your terminal and load in your secrets with the following commands. Replace the API Key & Playlist with the values from your .env file.
接下来,打开您的终端并使用以下命令加载您的机密。 用.env文件中的值替换API密钥和播放列表。
now secrets add ytplaylist-key PasteYourAPIKeyHerenow secrets add ytplaylist-playlist PasteYourPlaylistIDHereOnce you add your secrets, you can deploy your project from the terminal. navigate to your project and from the root, type:
添加秘密后,您可以从终端部署项目。 导航到您的项目,然后从根目录键入:
nowCongratulations!!! Your app is now available! View the demo here.
恭喜!!! 您的应用现已可用! 在此处查看演示。
翻译自: https://medium.com/@dmasley/turn-a-youtube-playlist-into-a-website-98235f9230aa