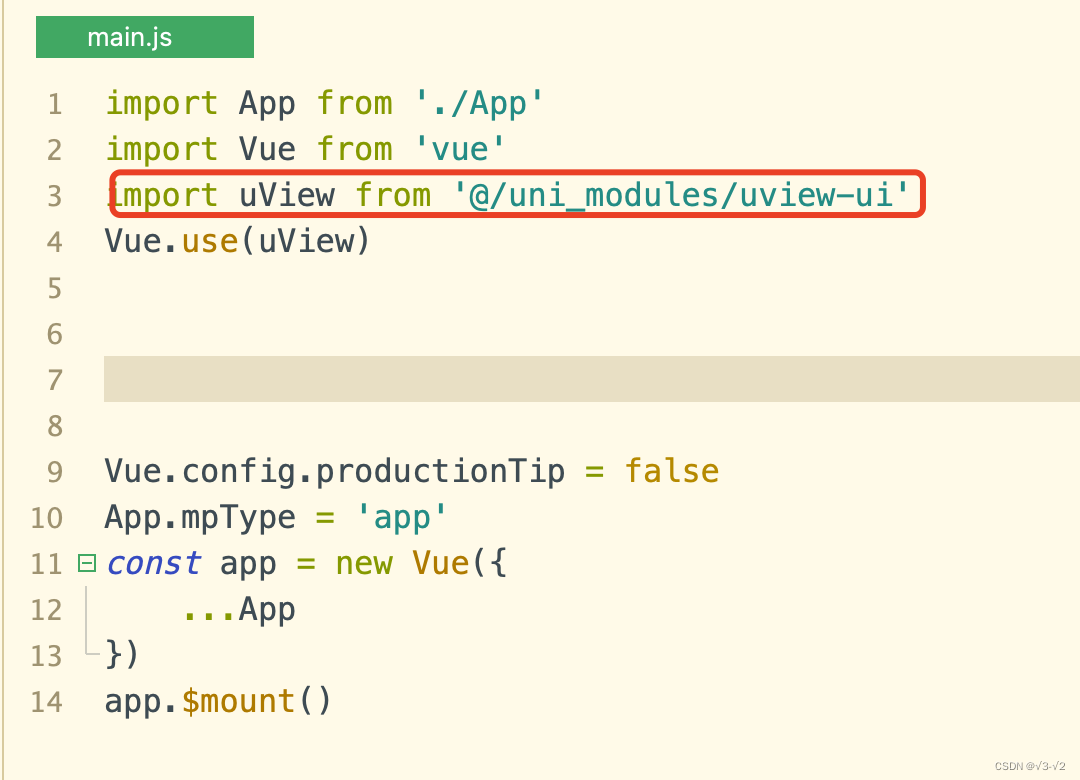
记录uni-app开发_uniapp √ 在app端显示成根号问题-程序员宅基地
技术标签: vue 前端 javascript uni-app
小程序二维码

有需要源码的可以私信我!!!!
瀑布流的实现
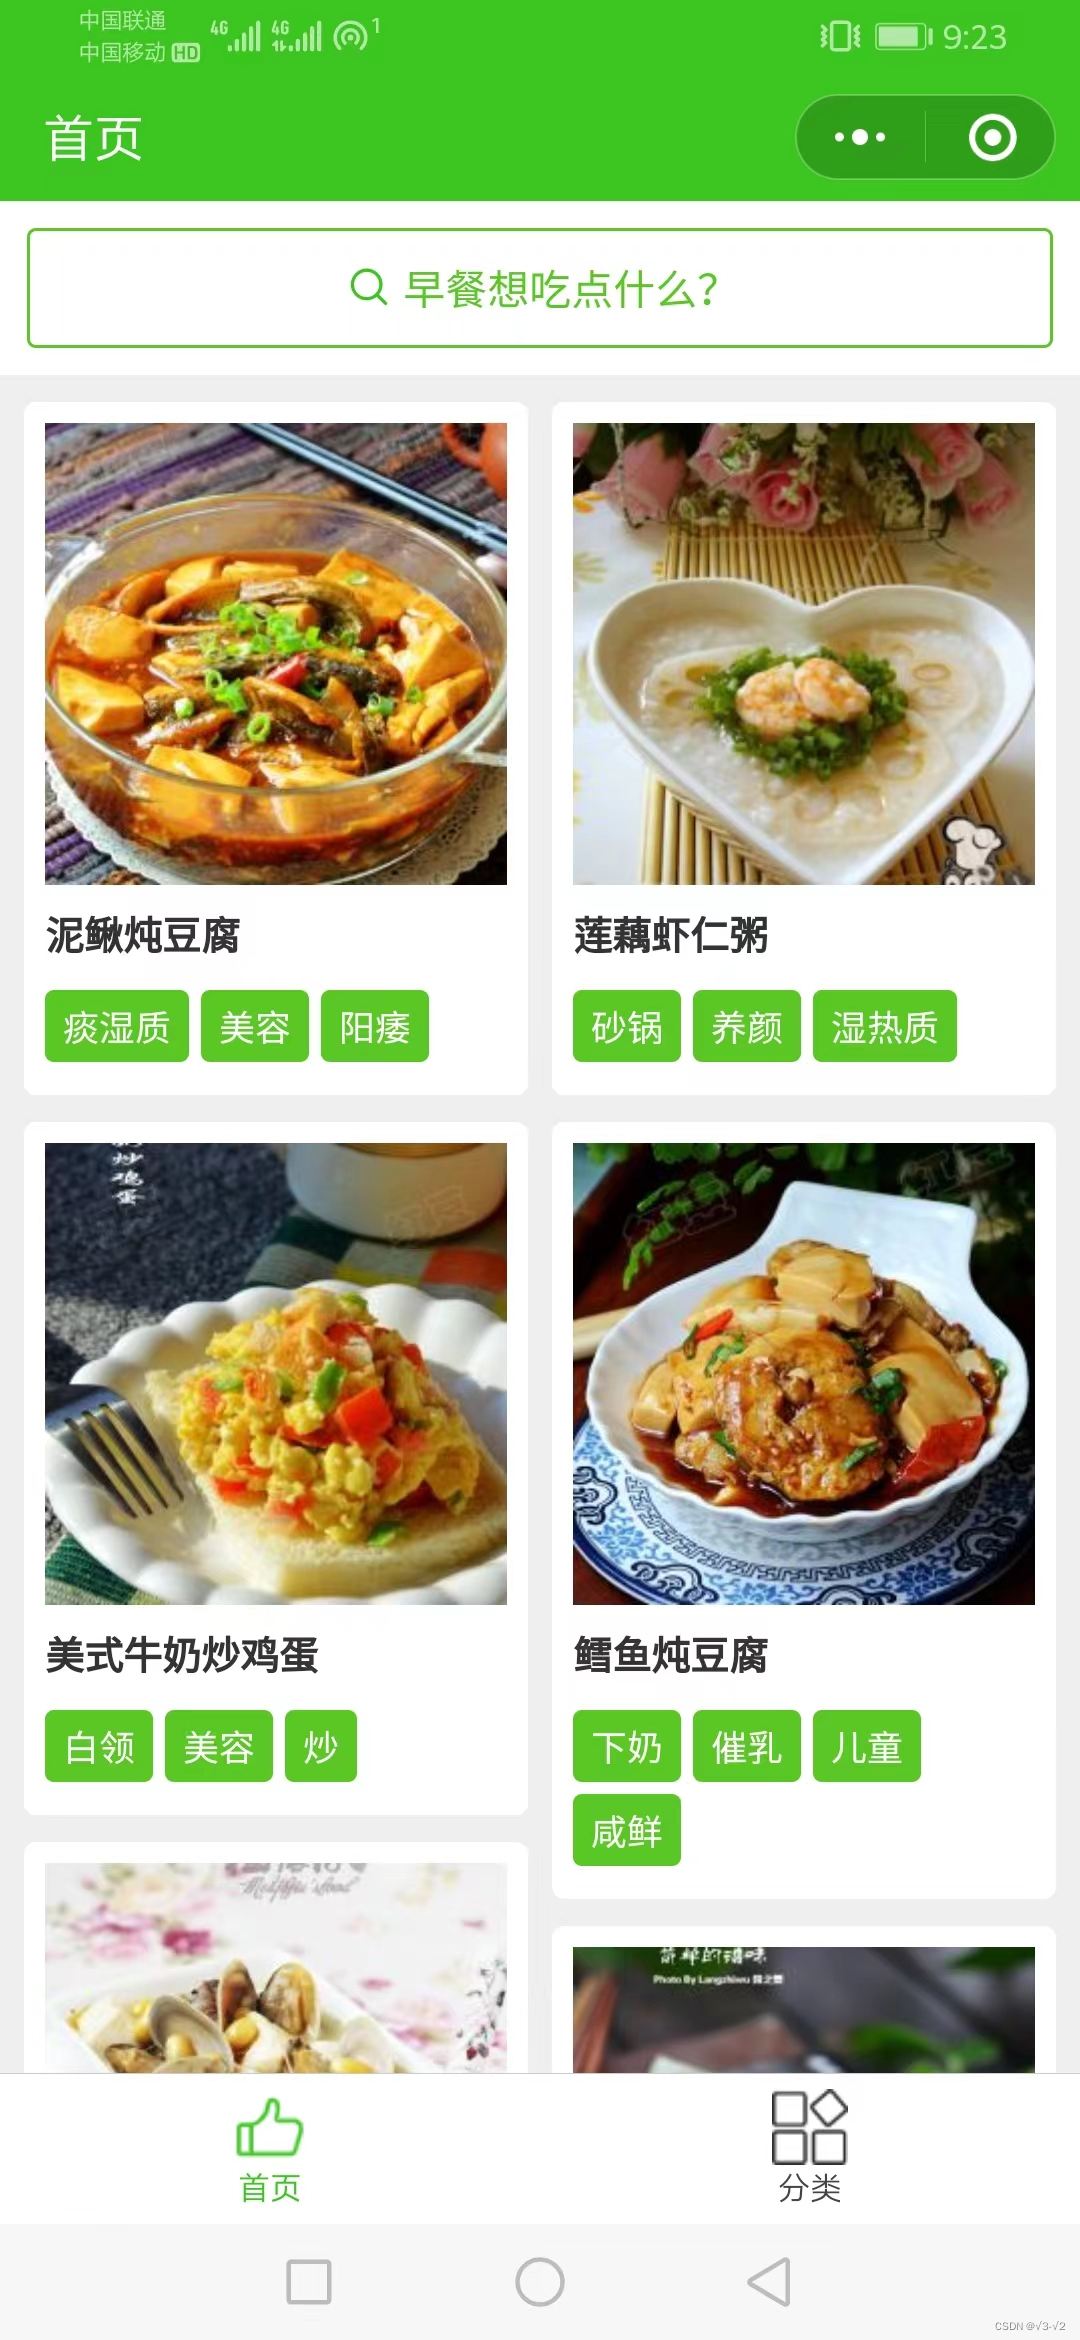
首页主要是是双列瀑布流实现。
主要代码的实现。
1. vue代码的实现
<scroll-view class="main-scroll" style="height: 100%" :scroll-y="true" :scroll-with-animation="true"
				lower-threshold="100" @scrolltolower="scrollLower">
				<water-list :status="waterfall.status" :list="waterfall.list" :reset="waterfall.reset" @done="onDone"
					@clickItem="goToDetail">
					<view class="loading-box">
						<u-loadmore :status="loading" />
					</view>
				</water-list>
			</scroll-view>
2.js代码实现
methods: {

			// 监听高度变化
			onHeight(height, tag) {

				/**
				 * 这个为实际渲染后 CSS 中 margin-buttom 的值,本示例默认为20rpx
				 * 用于解决实际渲染后因为数据条数关系,高度差计算偏差的问题
				 * */
				let marginBottom = uni.upx2px(20);

				// console.log(`左高:${this.leftHeight},右高:${this.rightHeight},当前高:${height},插入方向:${tag}`)

				if (tag == 'left') {

					this.leftHeight += (height + marginBottom);
				} else {

					this.rightHeight += (height + marginBottom);
				}
				this.renderList();
			},
			// 组件点击事件
			onClick(index, tag){

				// 对应的数据
				if(tag == 'left'){

					this.$emit("clickItem",this.leftList[index],index,tag);
				}else{

					this.$emit("clickItem",this.rightList[index],index,tag);
				}
			},
			// 渲染列表,这里实现瀑布流的左右分栏
			renderList() {

				// 待渲染长度为 0 时表示已渲染完成
				if(this.awaitRenderList.length < 1){

					this.showPage++;
					this.$emit("done");

					// 为防止 js 数值类型最大值溢出,当高度值大于 1亿时重置高度
					if(this.leftHeight > 100000000){

						if(this.leftHeight > this.rightHeight){

							this.leftHeight = 2;
							this.rightHeight = 1;
						}else{

							this.leftHeight = 1;
							this.rightHeight = 2;
						}
					}
					return;
				}
				let item = {

					...this.awaitRenderList.splice(0,1)[0],
					// 当前数据添加当前页面标识
					_current_page:this.showPage,
					// 当前数据添加一个渲染id,解决 v-for 重复会出现不执行 load 的 BUG
					_render_id:new Date().getTime()
				};

				if(this.leftHeight > this.rightHeight){

					this.rightList.push(item);
				}else{

					this.leftList.push(item);
				}
			},
			// 重置数据
			resetData(){

				this.leftHeight = 0;
				this.rightHeight = 0;
				this.leftList = [];
				this.rightList = [];
				this.awaitRenderList = [];
				// 当前展示页码数据
				this.showPage = 1;
			},
			// 启动渲染
			startRender(){

				if(!this.showList){

					this.resetData();
					return;
				}

				if(!this.$props.list || this.$props.list.length < 1){

					return;
				}

				// 若本次渲染为 重置 则先恢复组件的默认参数
				if(this.$props.reset){

					this.resetData();
				}

				this.awaitRenderList = [...this.$props.list];
				this.renderList();
			}
		}
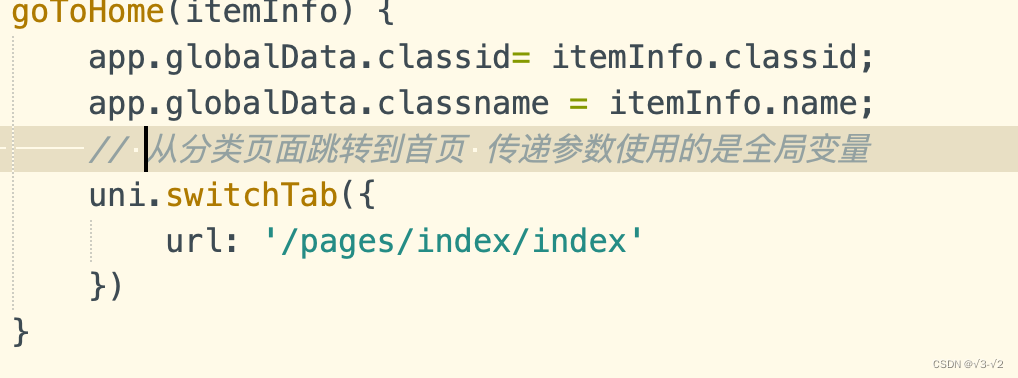
左侧导航实现
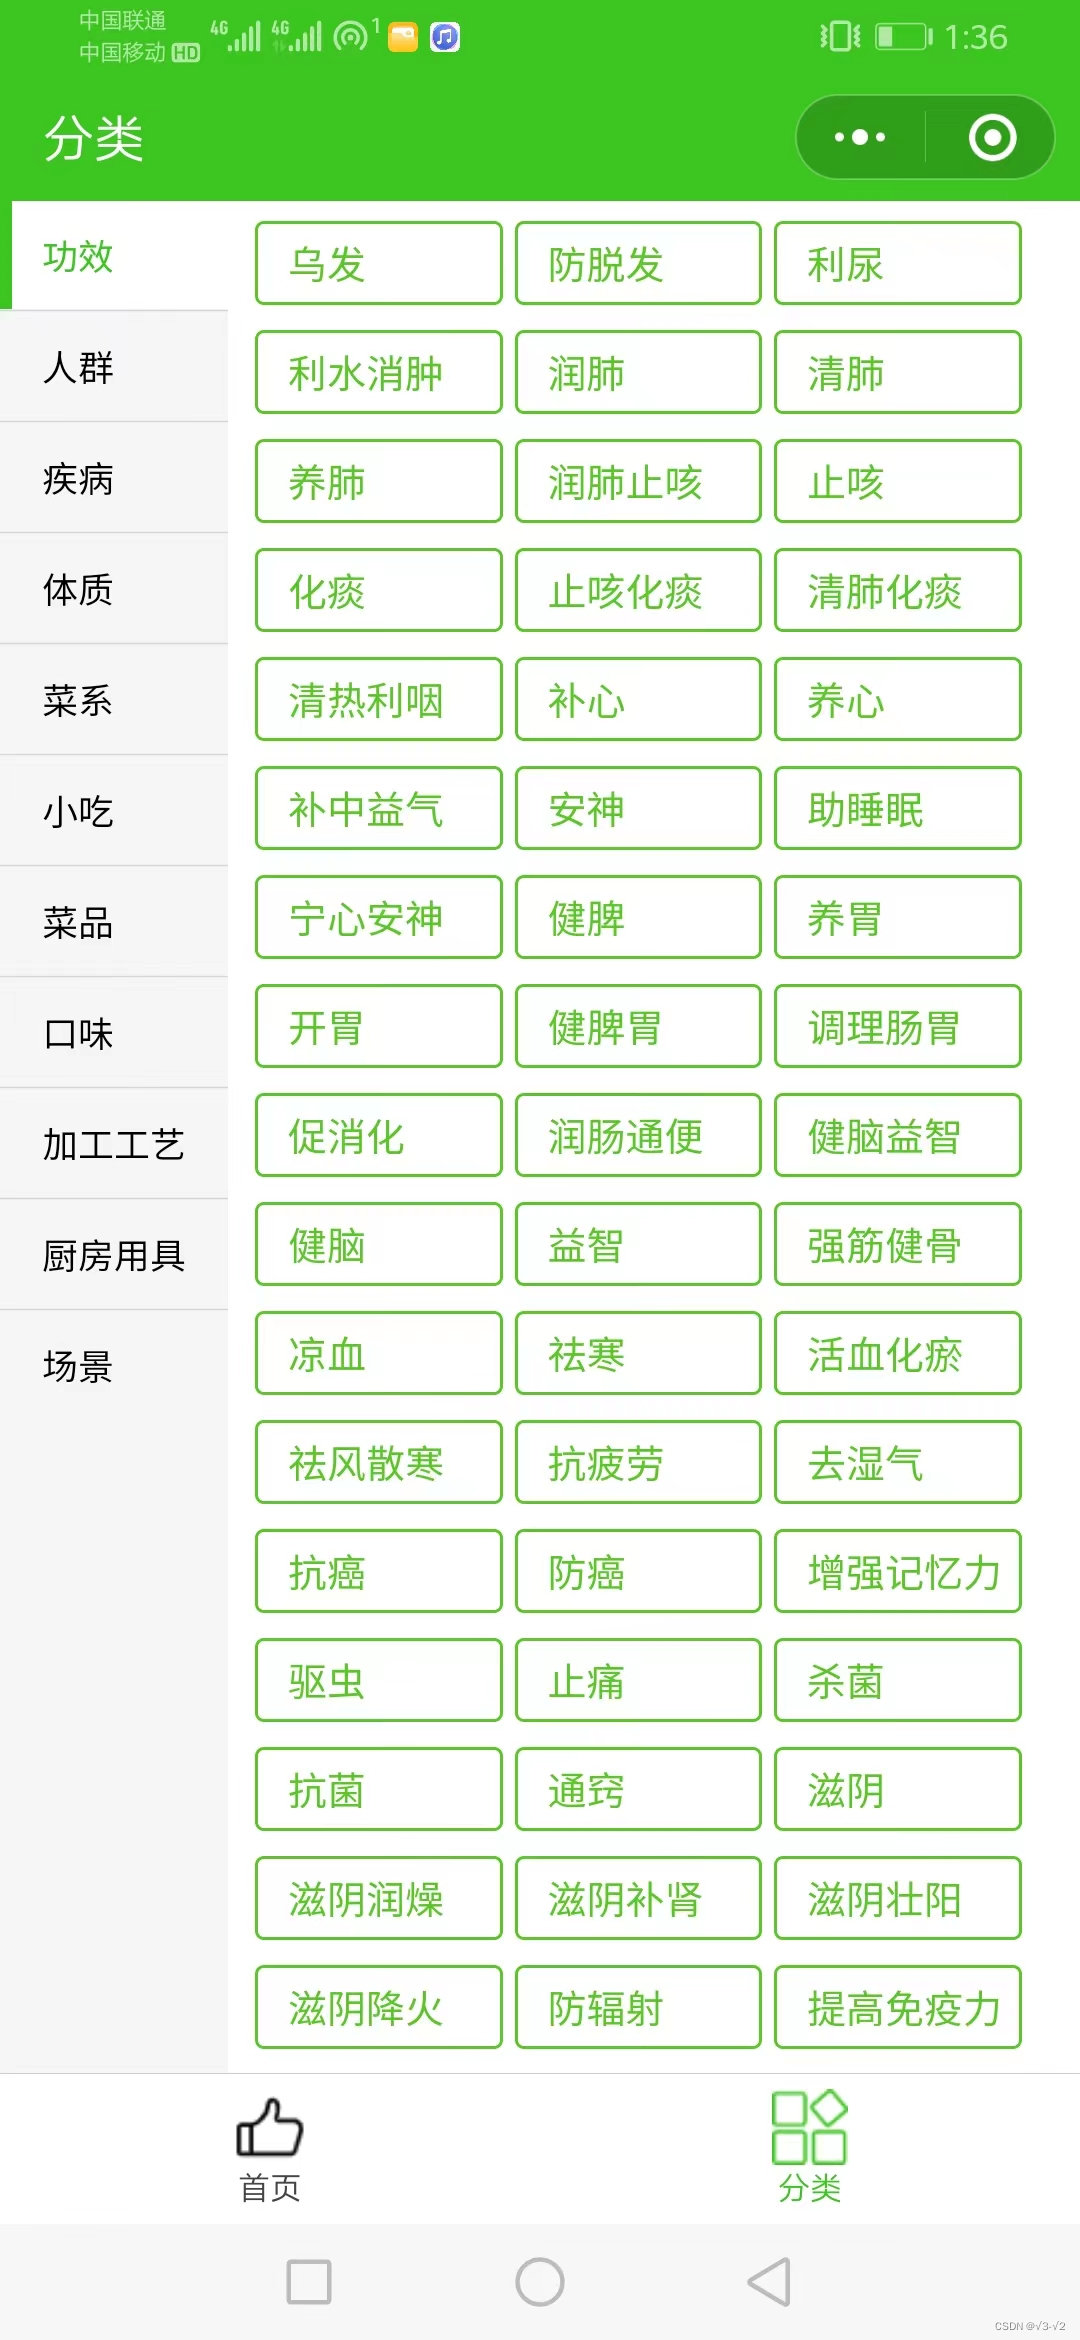
vue代码
<view class="scroll-panel" id="scroll-panel">
			<view class="list-box">
				<view class="left">
					<scroll-view scroll-y="true" :style="{ 'height':scrollHeight }" :scroll-into-view="leftIntoView"
						:scroll-with-animation="true">
						<view class="item" v-for="(item,index) in leftArray" :key="index"
							:class="{ 'active':index==leftIndex }" :id="'left-'+index" :data-index="index"
							@tap="leftTap">{
    {
    item}}</view>
					</scroll-view>
				</view>
				<view class="main">
					<swiper class="swiper" :style="{ 'height':scrollHeight }" :current="leftIndex"
						@change="swiperChange" :vertical="true" duration="200" :disable-touch="true">
						<swiper-item v-for="(item,index) in mainArray" :key="index">
							<scroll-view scroll-y="true" :style="{ 'height':scrollHeight }">
								<view class="item">
									<view class="title">
										<u-divider :text="item.title" lineColor="#3cc51f" textColor="#3cc51f">
										</u-divider>
									</view>
									<view class="tag" v-for="(item2,index2) in item.list" :key="index2">
										<u-tag :text="item2.name" type="success" plain
											@click="goToHome(item2)"></u-tag>
									</view>
								</view>
							</scroll-view>
						</swiper-item>
					</swiper>
				</view>
			</view>
		</view>
js代码
/* 初始化滚动区域 */
			initScrollView() {

				return new Promise((resolve, reject) => {

					let view = uni.createSelectorQuery().select('#scroll-panel');
					view.boundingClientRect(res => {

						this.scrollHeight = `${
      res.height}px`;
						setTimeout(() => {

							resolve();
						}, 100);
					}).exec();
				});
			},
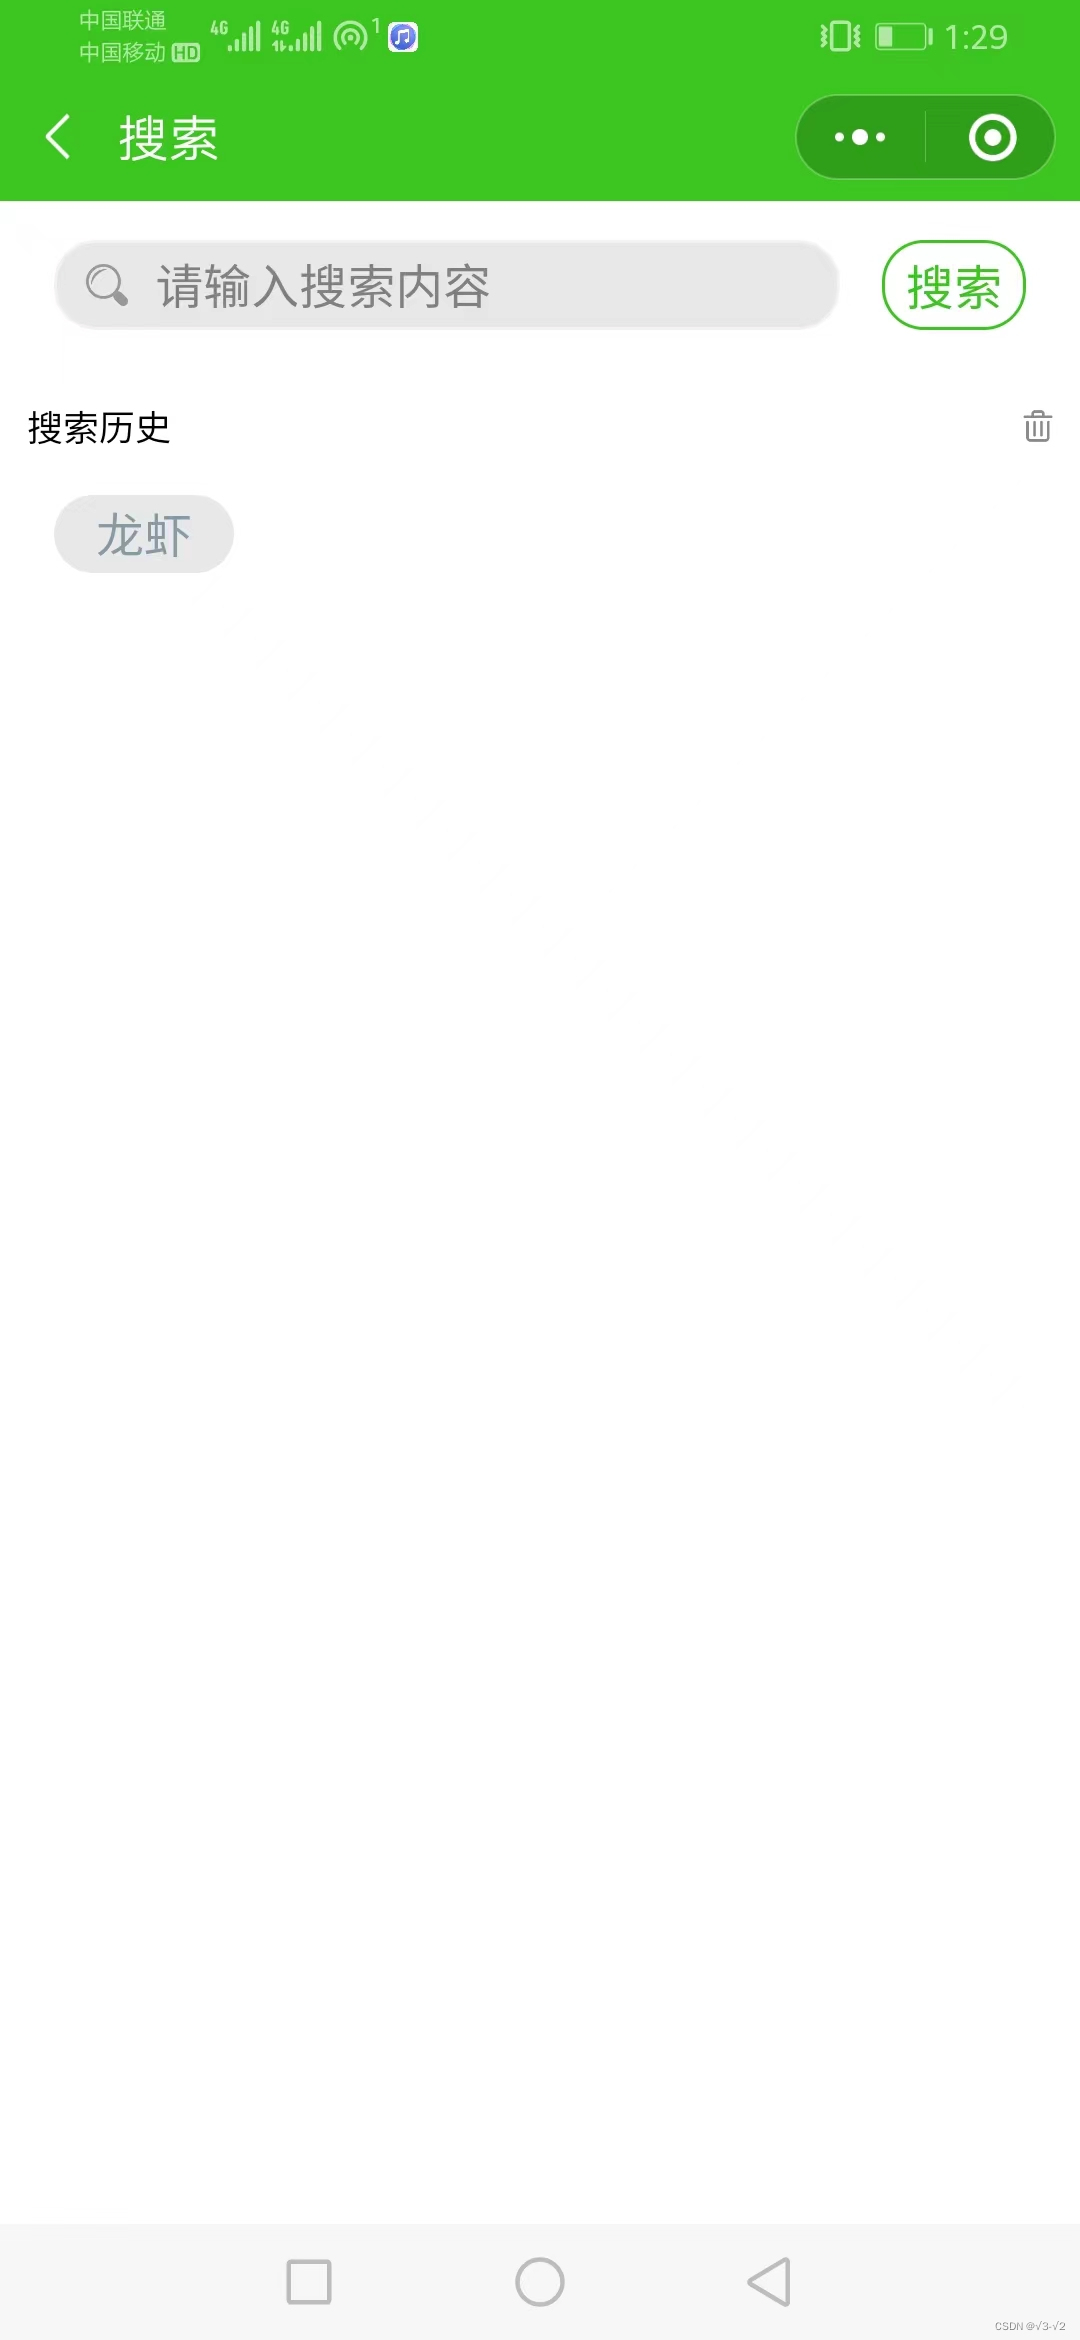
搜索功能组件
<d-search-log :color_border="color_border" :color_text="color_border" :search_list_hot="search_list_hot"
				:store_key="store_key" :input_text="input_text" @onClickDelAllApi="onClickDelAll"
				@onSearchNameApi="onSearchName" :is_show_more="is_show_more"></d-search-log>
uview 组件库使用
路由跳转问题
分享转发功能

这个方法必须有 不然小程序无法实现分享
智能推荐
对计算机pep介绍正确的是,2018级计算机科学技术导论-程序员宅基地
文章浏览阅读331次。跳至...新闻发布区最新通知课程APP(安卓端)资源导航教学大纲教学日历中文参考教材课程内容分布主讲教师简介参考书目与学习网站Tell me about your expectations for the course.学习目标计算机科学导论KeywordsChapter 1 The Big Picture PPT1.Grouping your group then make a discussi..._photograph compression for web usage or email
2020年面向iOS开发的知识点总结(持续更新中)_ios2020年度总结-程序员宅基地
文章浏览阅读334次。前言:最近在整理自己的技术栈,收集了一些自己认为比较重要的知识点分享给大家。Runloop1.iOS中触摸事件传递和响应原理2.为什么只有主线程的runloop是开启的3.为什么只在主线程刷新UI4.PerformSelector和runloop的关系5.GCD 在Runloop中的使用?6.AFNetworking 中如何运用 Runloop?Runtime1.Category 的实现原理?2.isa指针的理解,对象的isa指针指向哪里?isa指针有哪两种类型?3.Objectiv_ios2020年度总结
Java基础进阶提升_java 进阶提升-程序员宅基地
文章浏览阅读201次。(一)Java基础面向对象java语法常用类,api数据类型方法、对象、引用运算符、操作符关键字、关键词(二)java进阶8. 异常、异常分类与处理9. 线程同步、守护线程10. 多线程、IO流11. 接口、多继承12. jdk、jre、jvm13. 反射、泛型14. 类继承、方法覆盖(三)数据库15. Mysql数据库16. Oracle数据库17. JDBC18. 存储过程19. 数据库连接池20. JDBC连接池21. Sqlserver数据库(四)_java 进阶提升
【python基础知识】3.input()函数_input函数-程序员宅基地
文章浏览阅读9.8k次,点赞2次,收藏7次。在前面的学习中,我们学会了用print()函数对计算机下简单的命令,开始接触Python里不同类型的数据,并且懂得用if条件判断语句实现与计算机沟通的初级逻辑。经过了这些学习,你是不是对Python的了解又近了一步?有没有开始觉得,过去冷冰冰的计算机似乎在和你的沟通下,也变得亲切了起来。但是,仅仅掌握Python的码法是不够的。要想走得更远,我们一定要掌握Python的代码逻辑,利用正确的【数据】和合理的【逻辑】构造命令,最后还需【回应】计算机,【输入】自己的信息,就是要用到input()函数。_input函数
centos7无线网络设置-程序员宅基地
文章浏览阅读1.1w次。1、查看笔记本WiFi网卡名称:ip addr[root@localhost ~]# ip addr1: lo: <LOOPBACK,UP,LOWER_UP> mtu 65536 qdisc noqueue state UNKNOWN link/loopback 00:00:00:00:00:00 brd 00:00:00:00:00:00 inet 127.0..._centos7无线网络设置
条件随机场专题(2)--CRF模型_crf能处理时序信息的模型-程序员宅基地
文章浏览阅读882次。CRF是一种典型的判别式模型,它是根据模板,得到相应的特征函数,再通过这些特征函数进行参数的优化计算,那么在介绍CRF模型前,就有必要先介绍判别式模型和生成式模型。_crf能处理时序信息的模型
随便推点
antd protable 的一些配置记录_protable scroll-程序员宅基地
文章浏览阅读1.1k次。antd protable_protable scroll
清理node缓存,卸载angular以及强制删除angular的方法_彻底删除angular-程序员宅基地
文章浏览阅读8k次,点赞3次,收藏9次。卸载angular的两种方案_彻底删除angular
ios 设备型号_device version 10,1-程序员宅基地
文章浏览阅读1.2w次。1234567891011//可通过苹果review+ (NSString*)getDeviceVersion{ size_t size; sysctlbyname("hw.machine",NULL, &size, NULL, 0); char*machine = (char*)malloc(siz_device version 10,1
html标签使用时特别注意,JavaScript怎么修改HTML标签属性-程序员宅基地
文章浏览阅读866次。javascript修改属性的方法:首先使用getElementById()、getElementsByName()或getElementsByTagName()获取到DOM对象;然后使用“DOM对象.属性名=值;”来修改属性即可。本教程操作环境:windows7系统、ECMAScript 5版、Dell G3电脑。HTML DOM 对象从 JavaScript 的观点来看,网页上的每个 HTML..._修改标签属性
bat定时执行php,Linux_用bat实现定时执行任务的批处理文件,@echo off set txt1=%date:~0,4% ::当前 - phpStudy...-程序员宅基地
文章浏览阅读167次。用bat实现定时执行任务的批处理文件@echo offset txt1=%date:~0,4%::当前年set txt2=%date:~5,2%::当前月set txt3=%date:~8,2%::当前日set txt4=%time:~0,2%::当前小时set txt5=%time:~3,2%::当前分钟set txt6=%time:~6,2%::当前秒set date=%txt1%%txt2%..._定时任务的bat 文件能用echo 吗?
android微信朋友圈分享_andorid 微信fenxiang-程序员宅基地
文章浏览阅读1k次。android 微信朋友圈分享开发步骤_andorid 微信fenxiang